How I built this website
- 5 minsI’m a novice coder. Even saying I’m a “novice” coder is probably giving myself too much credit. And yet I still managed to put this website together, which means that if I can do it, anyone can do it.
I’m writing down my experiences and the links and guides that helped me so I don’t forget, and so I can keep improving. There are parts of the process I mimicked without really understanding why I was doing what I was doing. Friends reading this who actually know how it all works and can fix my mistakes can comment via GitHub.
Where I started
I wanted to avoid anything too hands on at first. I started off playing with Squarespace templates during a 14 day free trial.
Squarespace has some lovely templates, and the upside is you don’t have to do any coding if you don’t want to. The downside is that then you’re stuck with most of the style elements in a template - the changes you can make are pretty much limited to things like font size and colour.
I wanted to create something very simple and minimal, that I could develop later on. Little things irritated me about Squarespace, like being unable to change a blog’s layout, remove fixed headers, or reduce padding. I didn’t want to mess around too much in css (did I mention I’m a novice?) but I also didn’t want to go beyond a 14 day trial without something I was happy with.
So I started looking at jekyll themes instead.
Using jekyll
Sam was the first person to tell me about jekyll. Then, my partner and I used jekyll to build our wedding website (but he did most of the heavy lifting). For my own website, I wanted to do everything myself.
Jekyll is a “simple, blog-aware, static site generator”. I don’t really know how to rephrase that. It gives you the essentials you need to build a simple website, and no more. In contrast, Squarespace felt like it had too many bits I didn’t need, and style elements I couldn’t change. I also explored WordPress and had the same issues. WordPress felt more like a content management framework than a simple blogging platform. I also couldn’t find a WordPress theme I liked.
Luckily, there are lots of nice looking open source Jekyll themes. I chose this one.
Using GitHub
GitHub takes some getting used to. I’ve used GitHub at the ODI for a couple of years. I found these guides and presentations helpful while setting myself up:
- “Git for humans” by Alice Bartlett
- “GitHub for beginners: don’t get scared, get started”
- GitHub’s own introductory guides
I also found this introduction to GitHub, GitHub pages and Jekyll from Jonathan McGlone useful for walking through the mechanics of how Jekyll actually works on GitHub. The example website you build in the tutorial is from the GitHub web browser though. For this project, I wanted to be able to use the command line (namely because I’d need to be able to follow the instructions provided with my chosen Jekyll).
Getting started with a Jekyll theme
I forked the repository for the Jekyll theme I wanted to use so that I could make changes to it without editing the original code (explore ‘forking’ in the GitHub guides above). To be able to do anything with it, I needed:
- some basic guidance on using the command line
- a text editor (I use Atom)
- GitHub Desktop
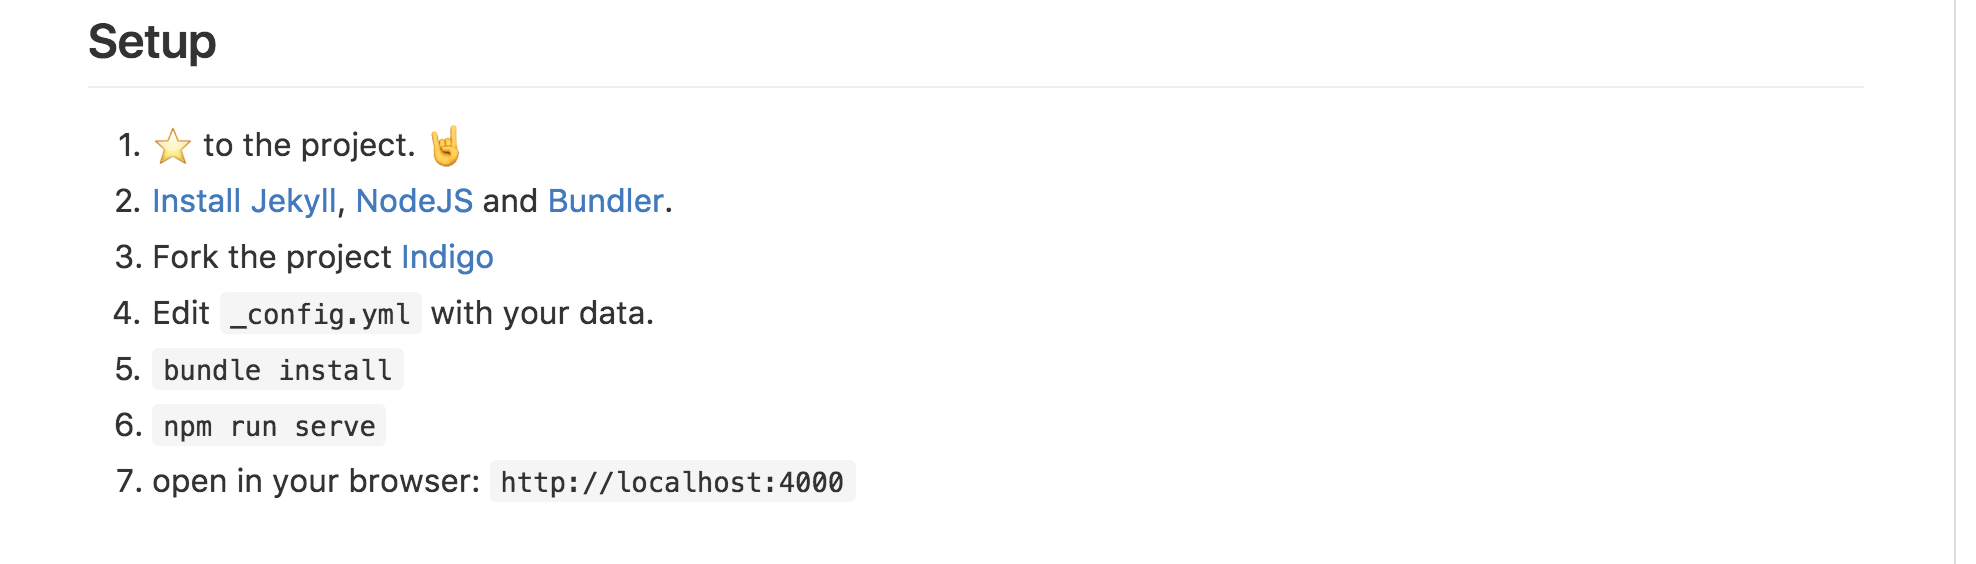
Most GitHub repositories have READMEs with setup instructions. The instructions I was using looked like this:
I cloned the repository to my computer.
Then I tried to install Jekyll from the command line. I got an error message immediately, saying I didn’t have write permissions for the Ruby directory on my computer. This is because I was trying to use a version of Ruby installed by Apple for their own use.
To get past this, I installed:
A few online tutorials said to install Xcode as well, but it looks like I already had it downloaded.
Then, I could install Jekyll, NodeJS and Bundler and follow the rest of the setup instructions, to open a version of the website locally in my browser.
After that, I made lots of changes to various folders and files in the repository in Atom, and tested them locally. I figured out how to make changes - like adding additional pages, changing photographs and aligning the navigation bar - pretty much by trial and error. I also added google analytics.
Using a custom domain
The hardest part of the process came when I tried to point the domain I’d purchased (ellenbroad.com) at my GitHub Pages site. Or point my GitHub Pages site at the domain, whichever way round that is. I started off with a GitHub guide to using custom domains and navigated to setting up an apex domain and adding a custom domain to your GitHub pages site. These guides helped, but DNS still felt like an enigma wrapped in a mystery to me. I needed outside help navigating custom DNS settings and figuring out where I needed to add a CNAME record and an A record. Squarespace is my DNS provider (a throwback to when I thought Squarespace would be the easiest website option) - and now will be for another 35 days, until I can change to another provider (ICANN rules).
DNS changes take a while to propagate, so it was hard to spot errors quickly. I’m still completely confused by DNS but at least the website seems to be working - it must be, for you to all be reading this!
That’s all I’ve got to with the website so far. I’d like to continue improving it. Pull requests and suggestions welcome.

Ellen Broad
Data, digital, board games, Beyonce